![[Valid RSS]](/images/valid-rss-rogers.png "Validate my RSS feed")
Fixing Azure Let's Encrypt Expired Key
Note to self: do not enable HTTPS-only on the Azure “TLS/SSL settings” for the App Service. This will keep the Let’s Encrypt service from properly updating the certificate.
For the past year, this blog site has supported SSL connections using a certificate provided by the free Let’s Encrypt service. I use the Let’s Encrypt Site Extension created by Simon J.K. Pedersen to do the certificate renewal. It was a bit of a pain to set up, but it has been running flawlessly for a year. Until now.
Every 3 months, I get an email from Let’s Encrypt notifying me that the certificate I am using from them is about to expire. I create a calendar entry a couple of days prior to the expiration date to check that the renew took place. I was rather suprised when this day arrived and I find that there were errors trying to renew the certificate.
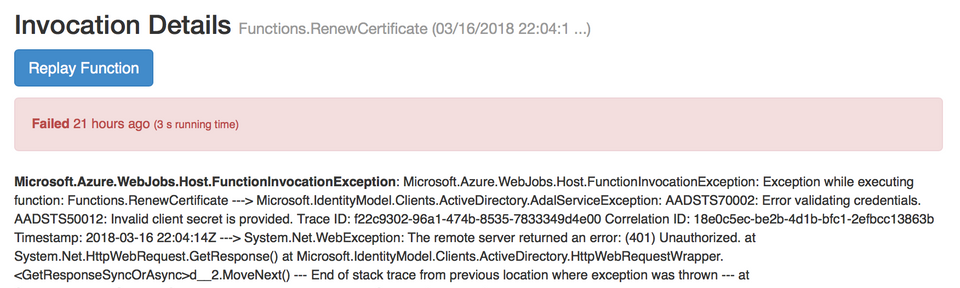
Looking at the error message and stack trace was not too informative, though the words “Invalid client secret” seemed like a good place to start. Google search showed me that it was due to an expired key that the Let’s Encrypt web job held to allow it to access my site’s configuration. Now, I just needed to figure out how to fix this. More Google searching and poking around on the Azure portal finally got things working again. Here are the steps I took to make it so.
First, I clicked on Azure Active Directory in the portal:

Next, I brought up the App registrations blade:
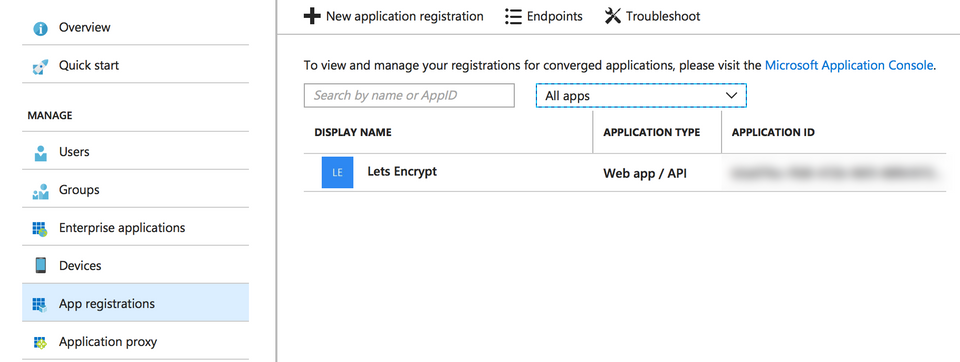
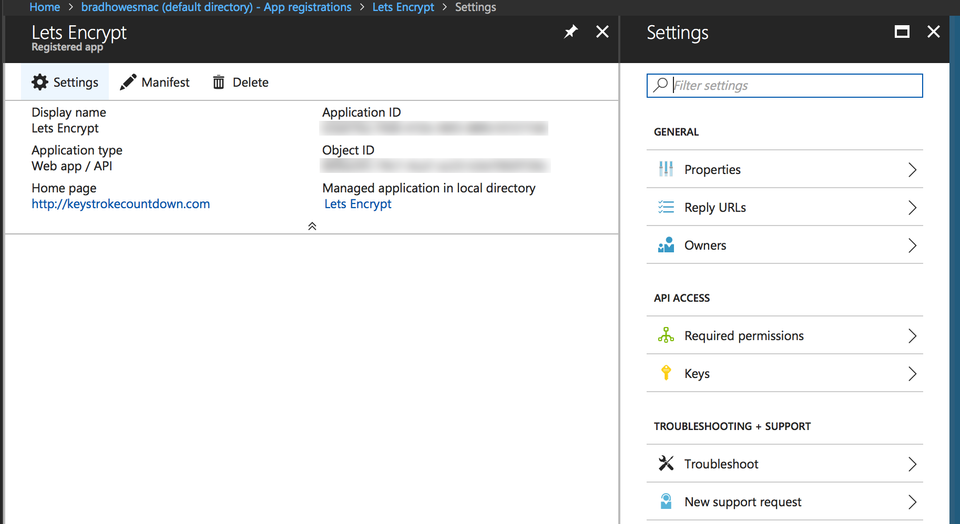
Note that for me I had to select All apps before I saw anything. Clicking on the Lets Encrypt entry brought up a new panel with general info:
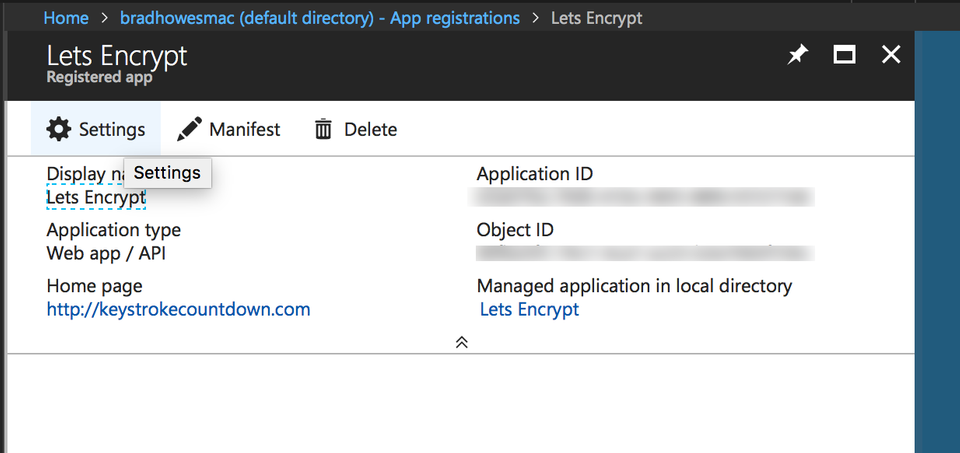
Clicking on Settings brings up a new panel with what we are after: Keys
The Keys panel reveals the source of the problem I was having. When I first installed the Azure Lets Encrypt web job, the maximum expiration time for a key was 1 year. Now, I can create a new one with an infinite expiration time.

Note that the interface for this pane is a pain to understand. Basically, to create a new key enter something in the Key description field, set the desired Duration value, and click on Save. Azure will generate a new value for the key and show it in the VALUE column. Be sure to copy it! – the key will disappear once you dismiss the panel.
Now we need to update the new key value. The first place is in the app’s Application Settings panel. The new value should appear in _letsencrypt:ClientSecret setting. Be sure to save the update before leaving the panel.
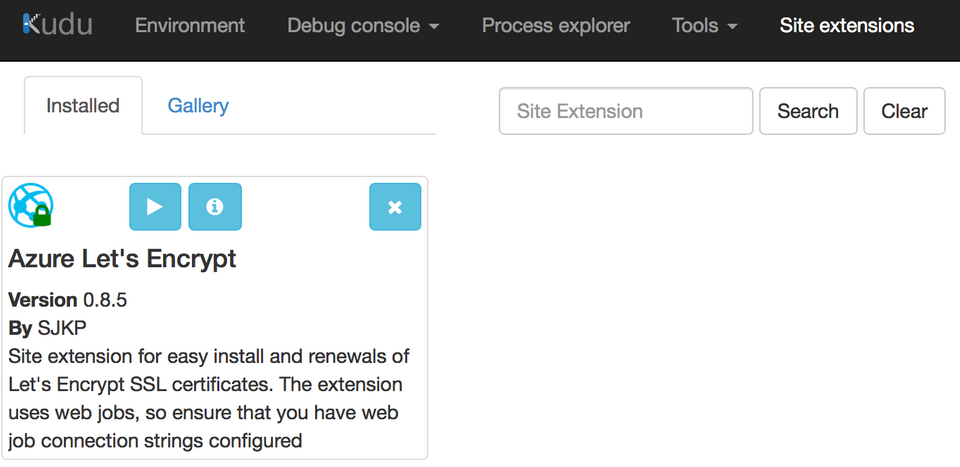
Next, we need to change the key value used by Azure Let’s Encrypt extension. Go to the Kudu site for your Azure web app (eg https://blahblahblah.scm.azurewebsites.net). From there, click on Site extensions. I only have one, so I get this:
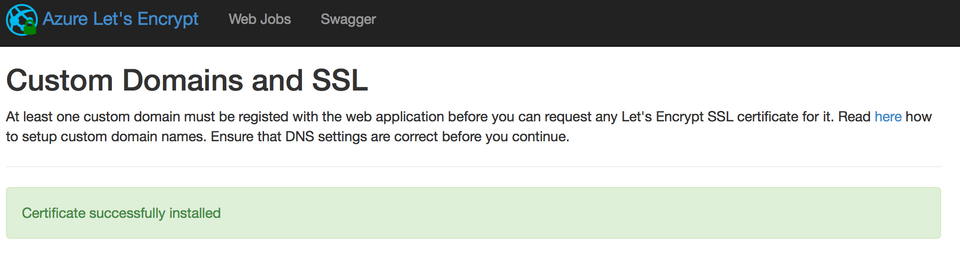
Click on the play button to show the configuration screen for the site extension. Paste in the new key value in the ClientSecret field, then click on Next. If all goes well, you will get to the “Request and Install Certificate” screen. Select the hostname to update and then click on “Request and Install certificate” button. Hopefully, this is the result: